I have installed a multi-zone heat pump for my workshop. This was another DIY MrCool installation similar to the one I did for my house back in March except this one is a bit larger and has two interior air handlers, one for my office, and one for my downstairs workshop space. It also has connections for a third air handler if needed.
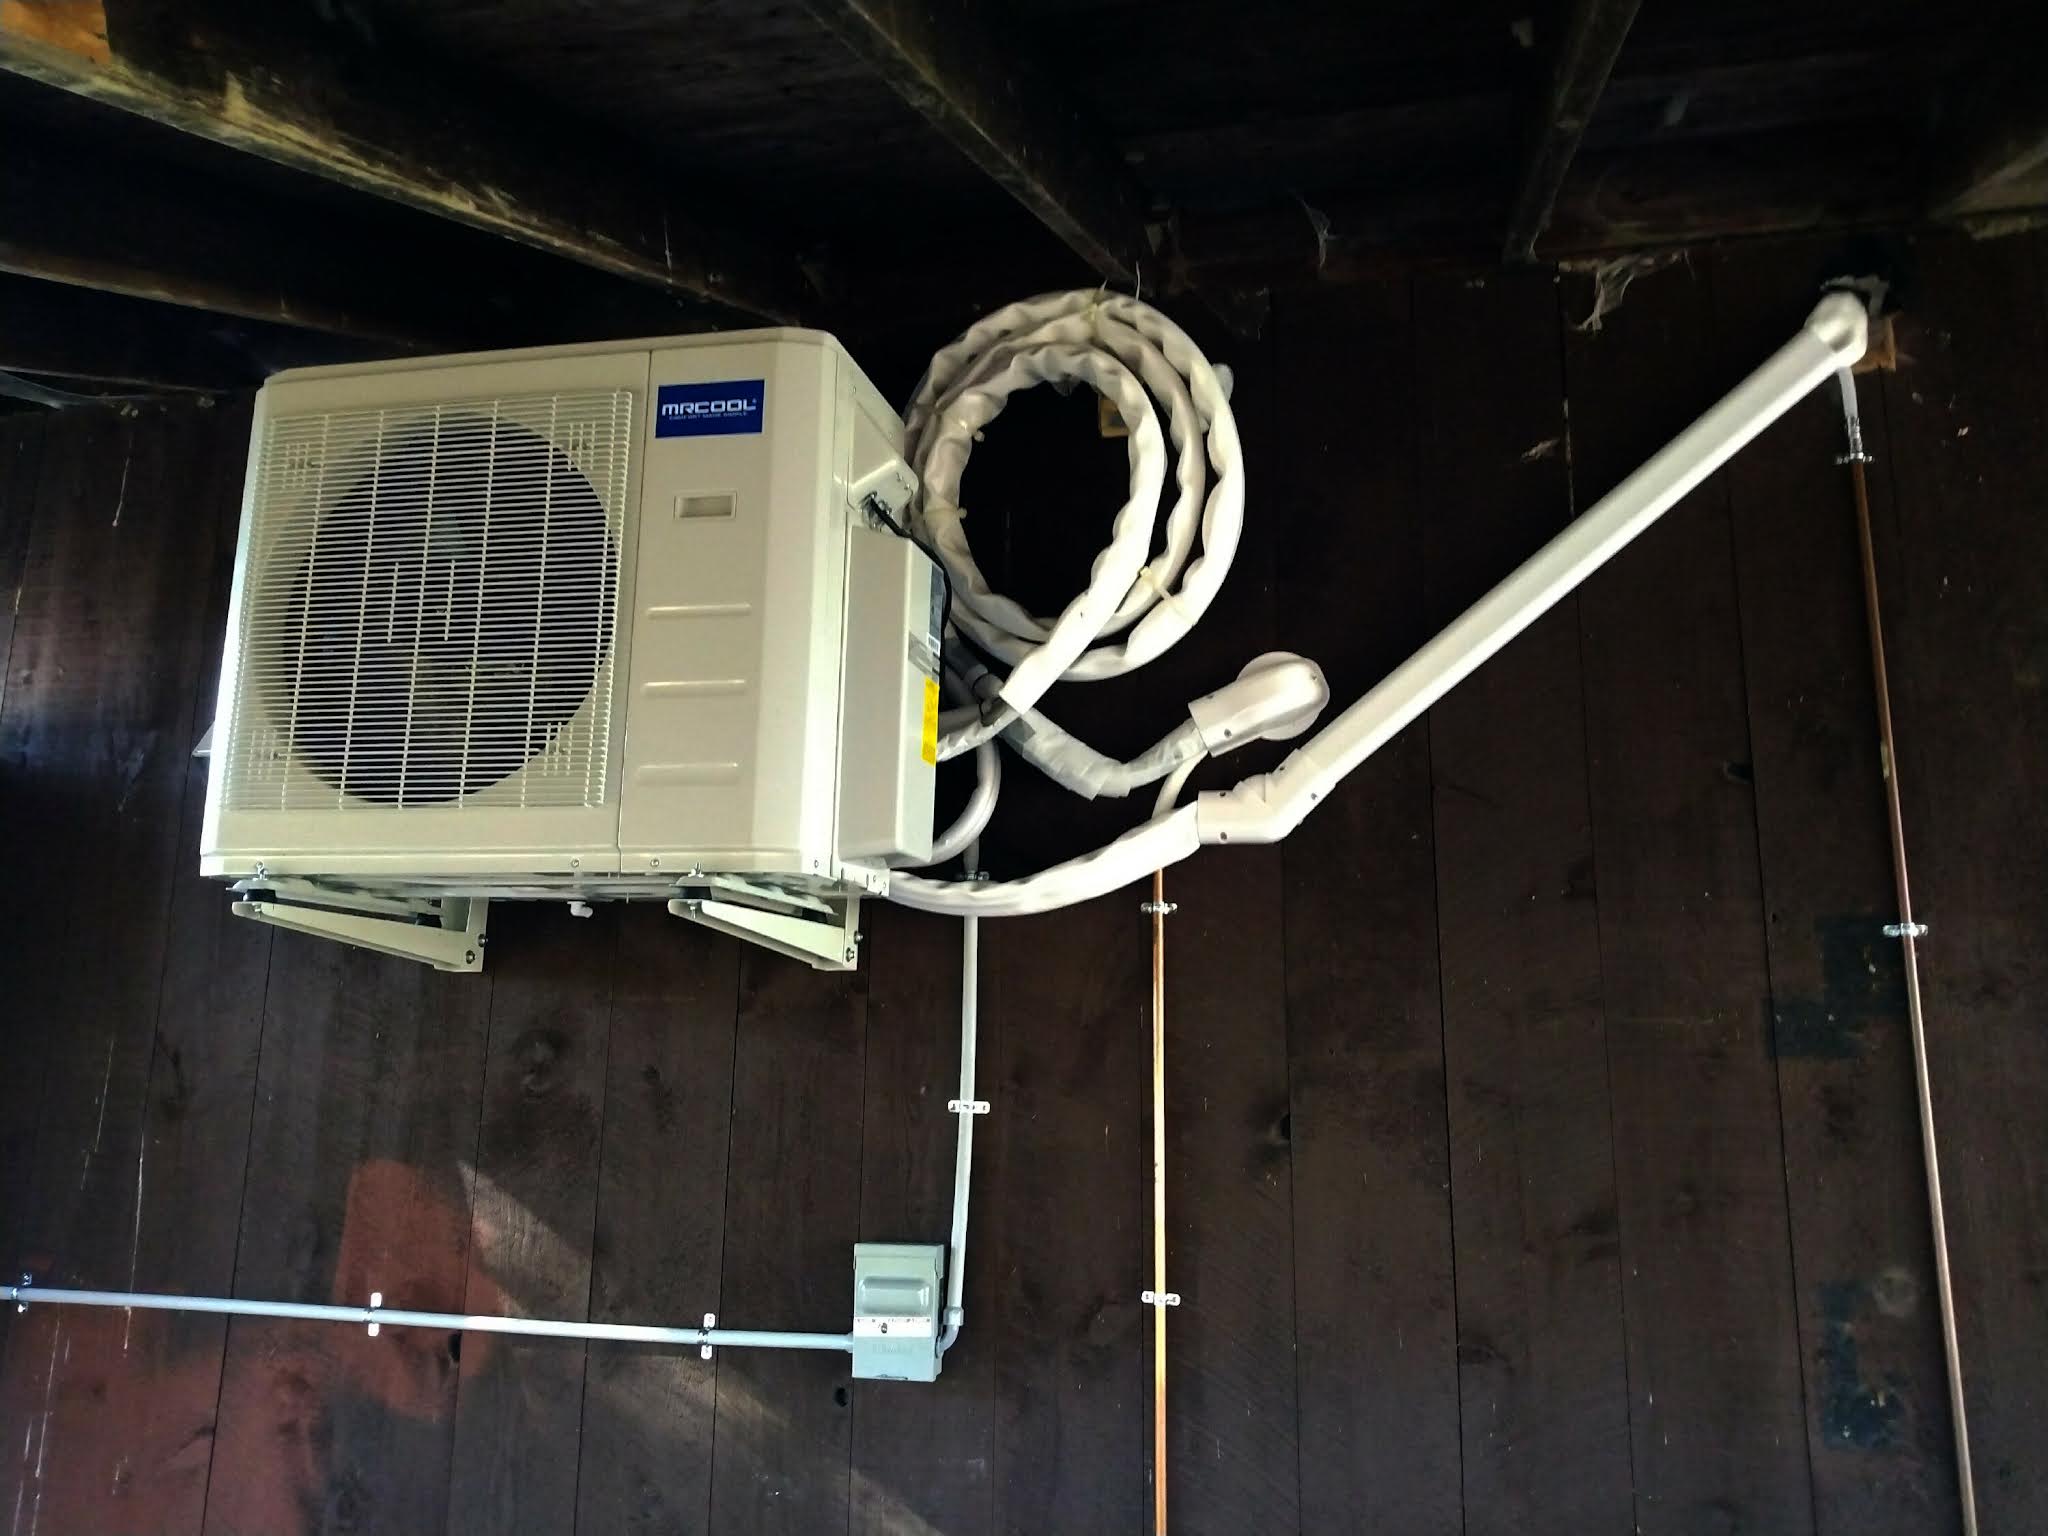
One of the slightly annoying things about these DIY packages is that the line sets that connect the interior to exterior units come in fixed lengths of either 16 feet or 25 feet. I ended up with far more than I needed which explains why it is all coiled up against the wall next to the unit in the picture above. It's not the worst thing in the world. I only needed about 12 inches between the condenser and the interior air handler, and had to coil 16 feet of line outside, I imagine this compromises efficiency slightly, but I'm not too worried about it

I mounted the condenser high on the wall under my carport. This will keep it out of the heavy weather and is over 7 feet high so I can park underneath of it. The installation was relatively simple, I just needed to cut a couple of 4 inch holes through the wall to run the plumbing through and everything else was just mounting parts inside and out. The instructions are clear and very comprehensive, but having installed one of these already, I barely needed to look at them this time.
The condenser is very close to my circuit breaker box inside the building so the 240 V wiring was quite short and easy to do. The only challenging part was getting that huge heavy condenser mounted on the wall brackets. I borrowed my friends pickup truck and he and I lifted it in stages onto the truck bed and then up onto sawhorses and so on until we got it high enough to lift it onto the mounting bracket. I actually used the pickup truck as a raised work surface for all of the final connections and wiring, it was really convenient to be at the right height.

Here's a photo of the small air handler in my office which is more than sufficient for this small room and heats it up quite quickly (and also cools it handily in the summer).

Downstairs in my workshop the large air handler mounts right near my wood stove which is my backup heat source.
This system cost me almost exactly $3000 in parts and I expect to get a federal tax break of $300 per installed heat pump which is a real plus. If I had to pay someone to do this insulation it would've cost way more than double what I spent. Probably over $8000. While this type of installation is not for the faint of heart, anyone experienced with building construction and wiring should be able to do it without too much trouble.
I have decided to take down the solar thermal heating system that I designed and built 20 years ago since it is no longer needed and is certainly not as efficient as heat pumps are. In my next post I will show the process of removing the solar collectors and replacing them with 1800 W of solar PV panels which should be more than enough to offset the power consumption of these two new heat pumps.
Nice work. Down south we have used heat pumps since GE produced the first practical units back in the sixties. One suggestion - might orient those coils horizontally to avoid oil trapping or better yet pay a tech an hour or two to shorten the lines.
ReplyDeleteThanks. Those early heat pumps were not very efficient, this one is up close to 400% efficiency down below 5°F I believe and of course it does both heating and cooling very nicely.
DeleteAs a DIY guy I'm very resistant to have someone else work on the system, but if and when I do have someone re-pressurize the system as a basic maintenance then I'll have them shorten that extra line.